
From First Call to Permanently Dry
Seven steps, each one written down before we start. You will know what is happening, who is doing it, what it costs and when it finishes, before a single tool comes off the truck. The first step decides everything else, because a sealing problem and a pressure problem get completely different scopes.
Our Basement Waterproofing Process
Step 1: Free On-Site Inspection & Diagnosis
We start with a full inspection of your basement, covering moisture mapping, a grading and downspout review, and a hose test that shows exactly where water enters. It takes 45 minutes and carries no obligation.
Step 2: Written Quote & Custom Solution Plan
From the findings we design a system for your foundation rather than a template. You receive a fixed price in writing, materials named by brand, and the change-order policy stated before you sign.
Step 3: Installation (Typically 2 to 4 Days)
Our own certified crew installs the system, with the person who quoted the job on site. Containment goes down first, spoil leaves by bucket rather than slurry, and the work area gets swept every evening.
Step 4: Final Walkthrough, Cleanup & Warranty
We flood-test the system in front of you, then hand over written moisture readings taken before and after. Your lifetime transferable warranty gets registered before the crew leaves the driveway.
What Each Step Actually Involves
What the inspection actually checks
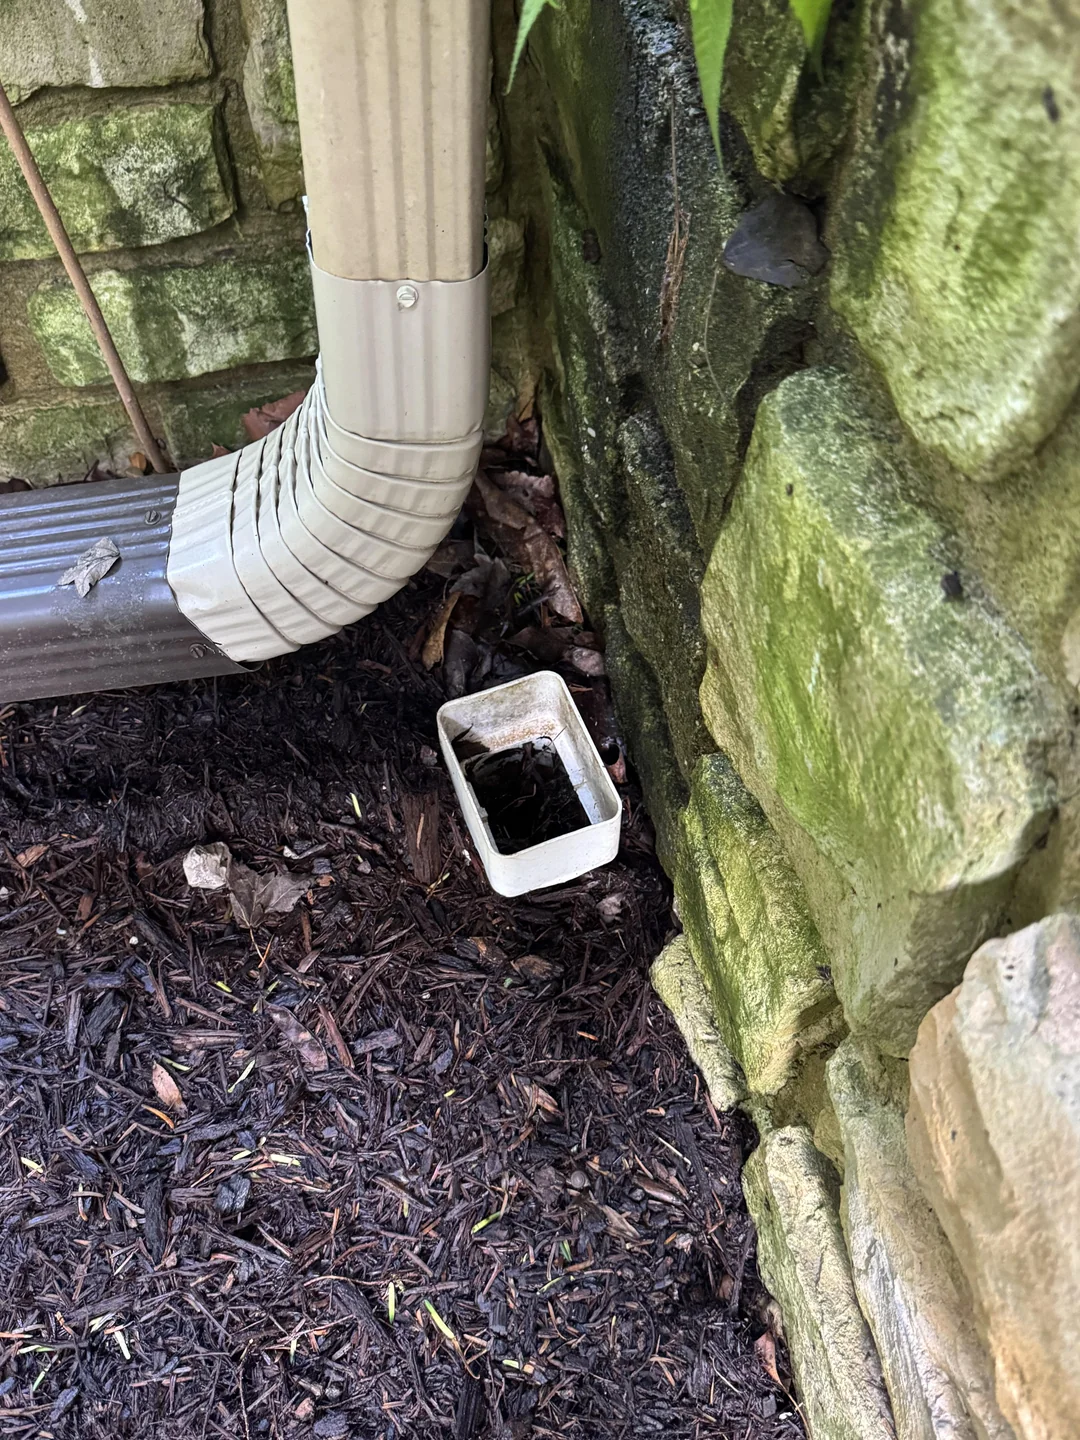
We map moisture room by room with a meter, not a guess, and log every reading. Outside, we walk the grade, check downspout discharge and open the window wells. A hose test on any suspect crack or joint shows the entry point while you watch, rather than after we have already opened a wall.
What the written quote spells out
The proposal names the method, not just the price. If the diagnosis points to a crack, it says injection. If it points to pressure, it says drainage and states the linear footage. Materials are named by brand, and the change-order policy is printed on the same page as the total, not buried in a separate document.
Who shows up on installation day
The same crew handles the job start to finish, and the person who quoted it stops by. Containment sheeting goes up before the saw starts, spoil leaves by bucket rather than a slurry pumped into your yard, and the work area is swept clean at the end of every day, not just the last one.
What happens at the final walkthrough
We flood-test the finished system in front of you, hand over moisture readings from before and after, and register the warranty on the spot. You get the paperwork the same day, not a follow-up email a week later.
What to have ready for your free inspection
None of this is required. Having it ready just means we spend the forty minutes diagnosing instead of hunting for context.
- Clear a path to the basement or crawl space entry, including anything stacked against the walls we need to see
- Have a list of when the water shows up: during a storm, hours after, or only once the wet season has been running a while
- Pull together any past invoices for drainage, crack repair or grading work, even from a different company
- Note which rooms are above the affected area, so we can check for matching signs upstairs
Questions About How the Job Runs
About forty minutes. We walk the perimeter with a moisture meter, look at the cove joint, check every visible crack for width and offset, read the relative humidity (opens in a new tab), then go outside to look at grading, downspout discharge and whether the roof drains actually reach a working line. You get told what we found while we are standing there, not a week later.
Nothing is quoted until the entry point is identified. A contractor who prices before diagnosing is guessing, and in this trade guessing is expensive.
For the inspection, yes, so we can show you what we found. For the installation, no. Most customers give us access and go to work. We text photographs at the end of each day so you can see the stone bed, the membrane and the backfill before the concrete goes over them.
Saw-cutting the slab is dusty, so we run containment sheeting and a HEPA vacuum on the saw. Spoil goes straight into buckets and out to the truck. The floor is swept and the containment comes down before we leave each evening.
Crack injection makes almost none. That is a half-day job with a drill and a resin gun, and the wall is paintable the same afternoon.
The wet season is often the better time. Every part of an interior system is installed from inside the building, so rain outside is irrelevant to the schedule, and it is the only time of year we can watch the leak happen rather than infer it. We install full perimeter systems in January with water actively coming in.
Waiting for July has one real cost: a dry basement in August tells you nothing, so the diagnosis leans on marks left behind rather than water you can both see. The September walkthrough is the better time to catch what a dry summer basement hides.
You call us and we come back at no charge. The warranty names the treated area, covers the labor and transfers to the next owner. Nothing in it depends on you maintaining anything, and there is no annual inspection fee to keep it alive.
Covering Every Basement Across Portland
Portland ZIP codes we cover
Request Your Free Basement Inspection Today
Water in the basement, a foundation crack you have been watching, or a crawl space nobody wants to open. Get a straight diagnosis from BWP Portland, with fast response, fixed pricing and workmanship guaranteed for life across the city of Portland.