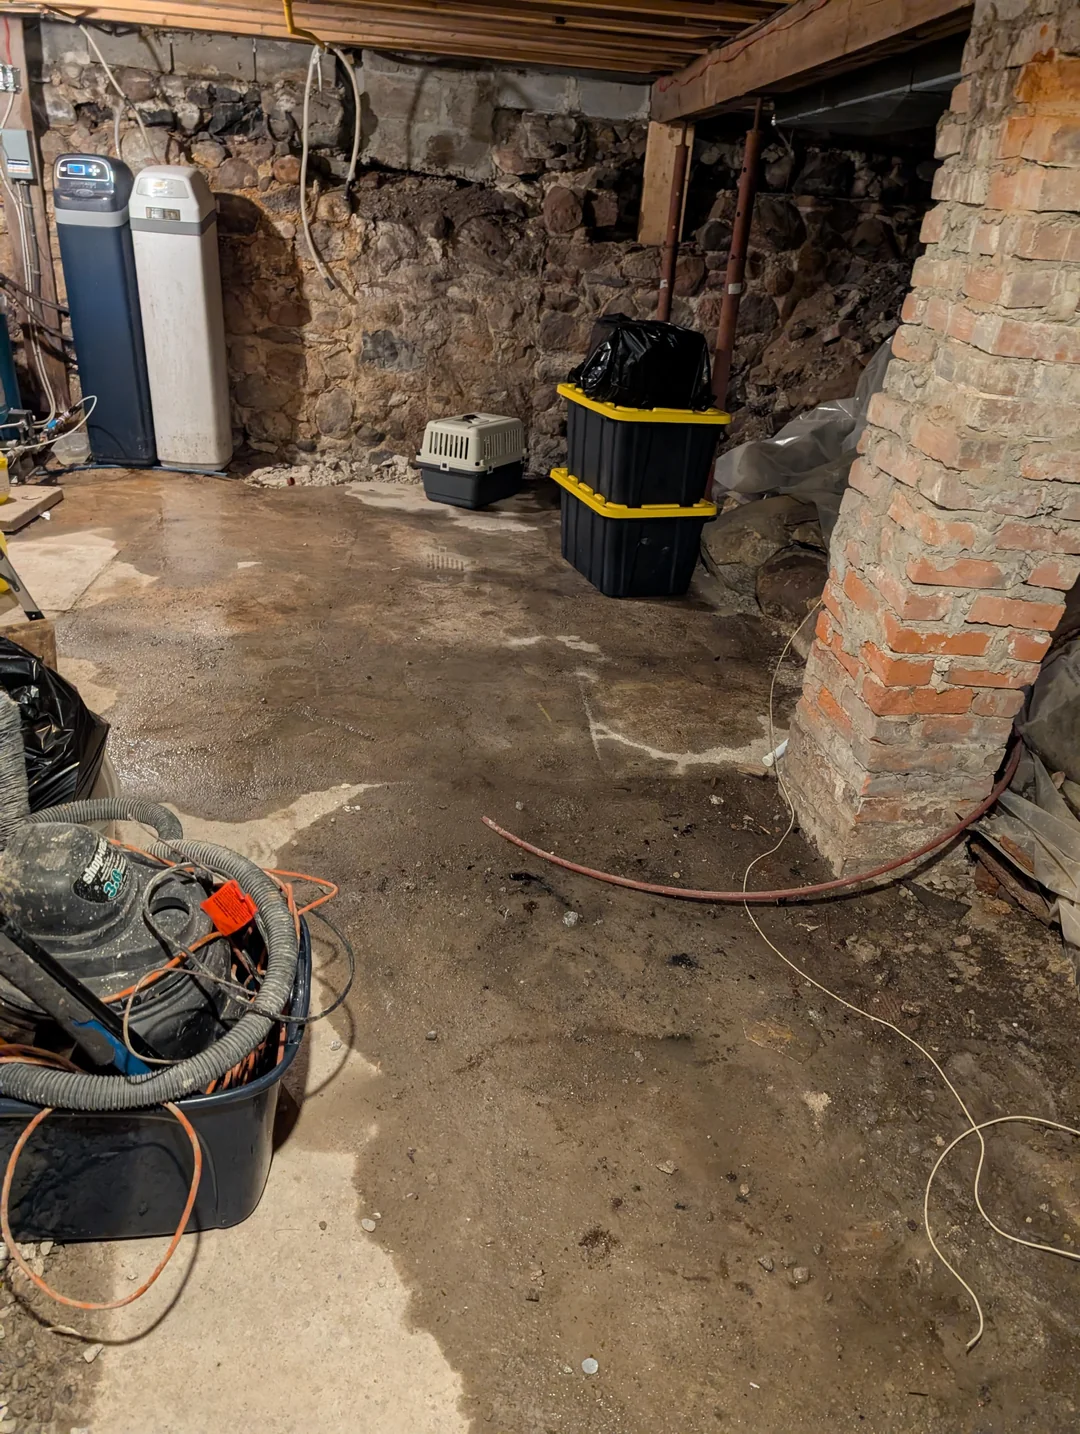
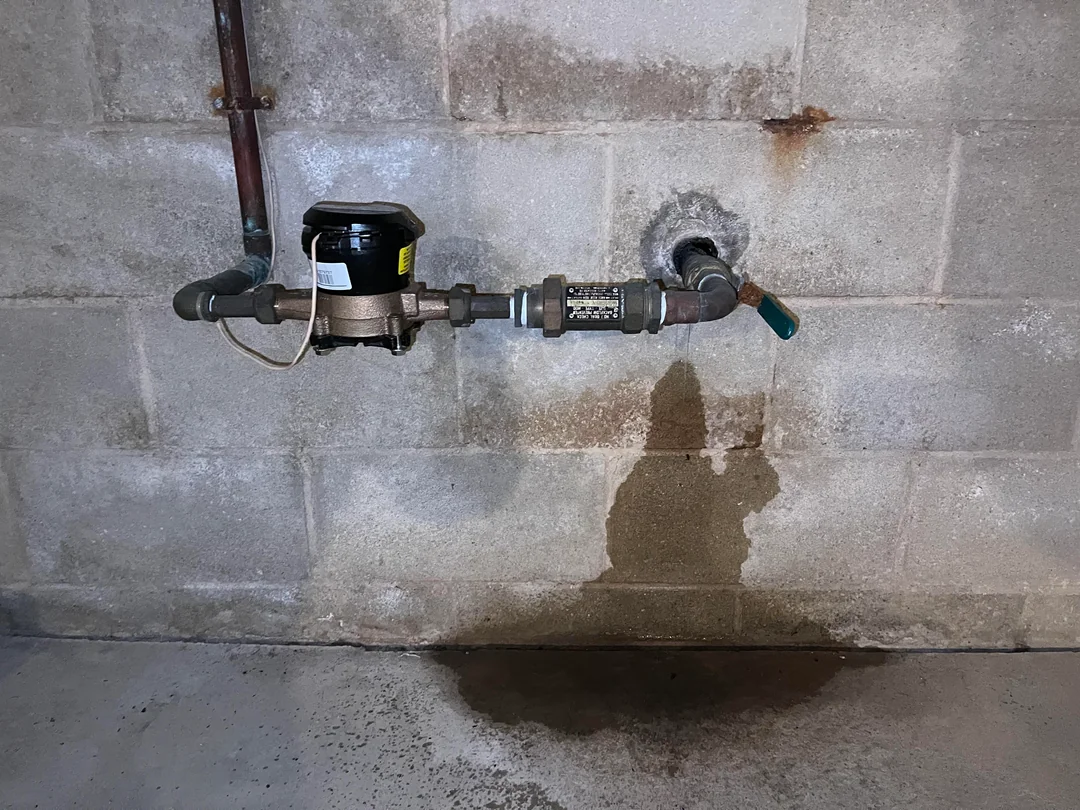
Yes, for a real share of what causes a wet basement. No, for the part that actually stops hydrostatic pressure (opens in a new tab) or seals a structural crack. The honest answer depends entirely on which of those two problems you have, so here is where the line actually sits.
What you can fix yourself, and it genuinely helps
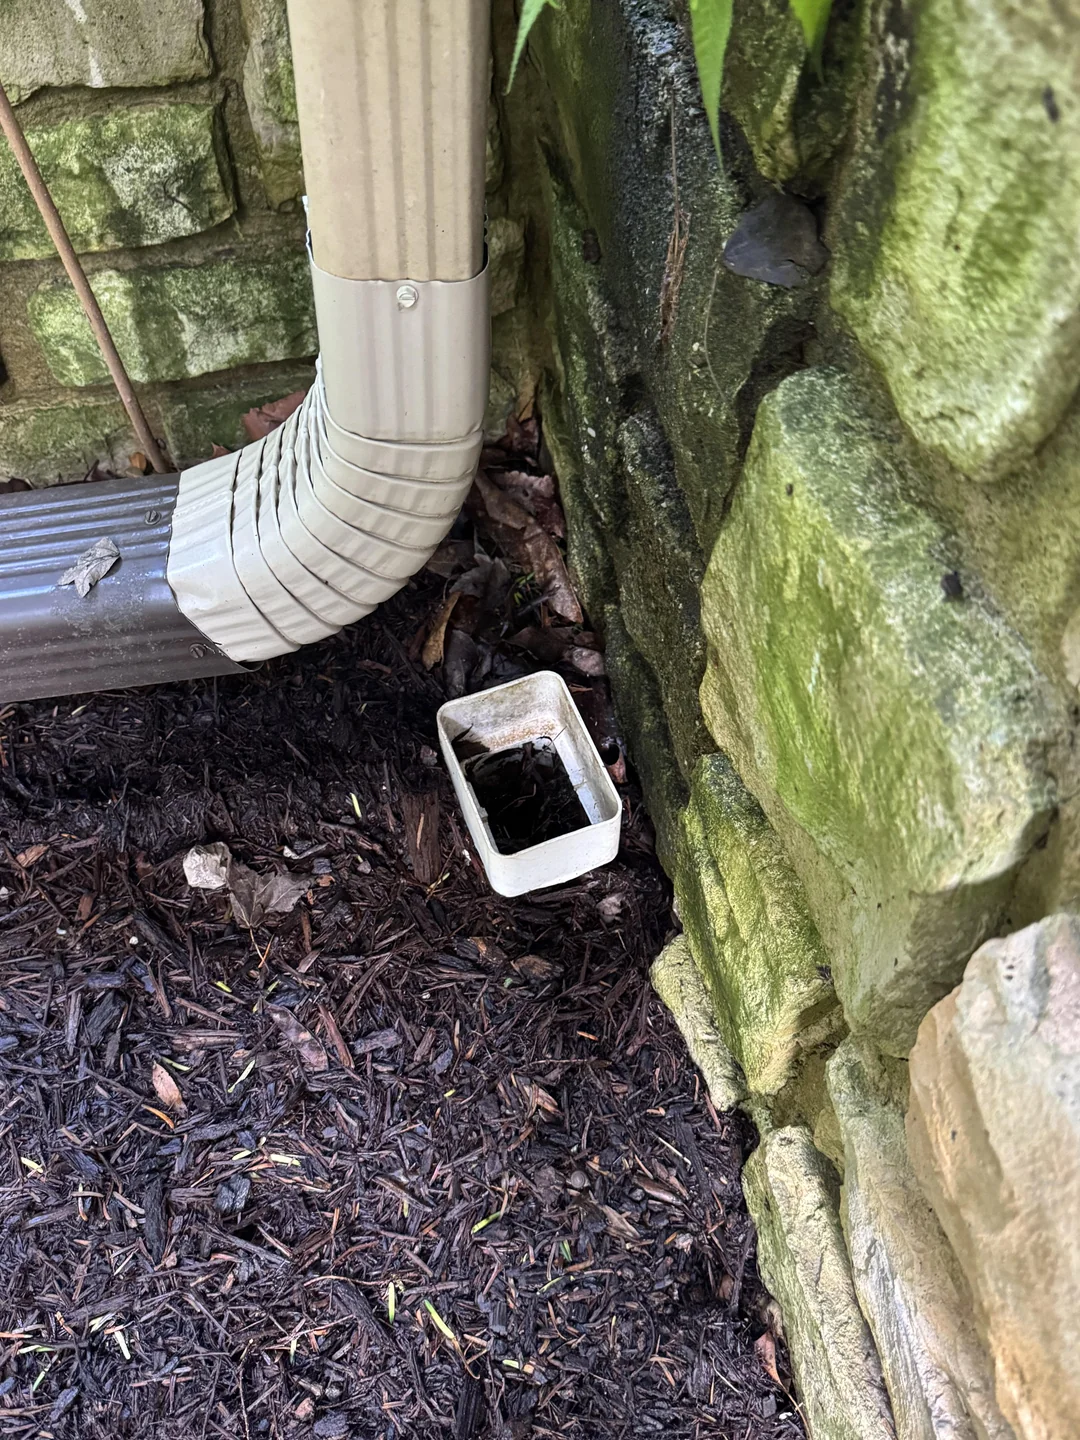
Extend your downspouts. Eight feet minimum from the foundation, ten if you can manage it. This is the single highest-value fix on this whole list, costs about fifteen dollars per downspout, and needs no special tools.
Fix the grade next to the wall. Soil should slope away from the foundation, roughly an inch per foot for the first six feet. Adding soil (not bark dust, which holds water) is a weekend job with a shovel and a bag of topsoil.
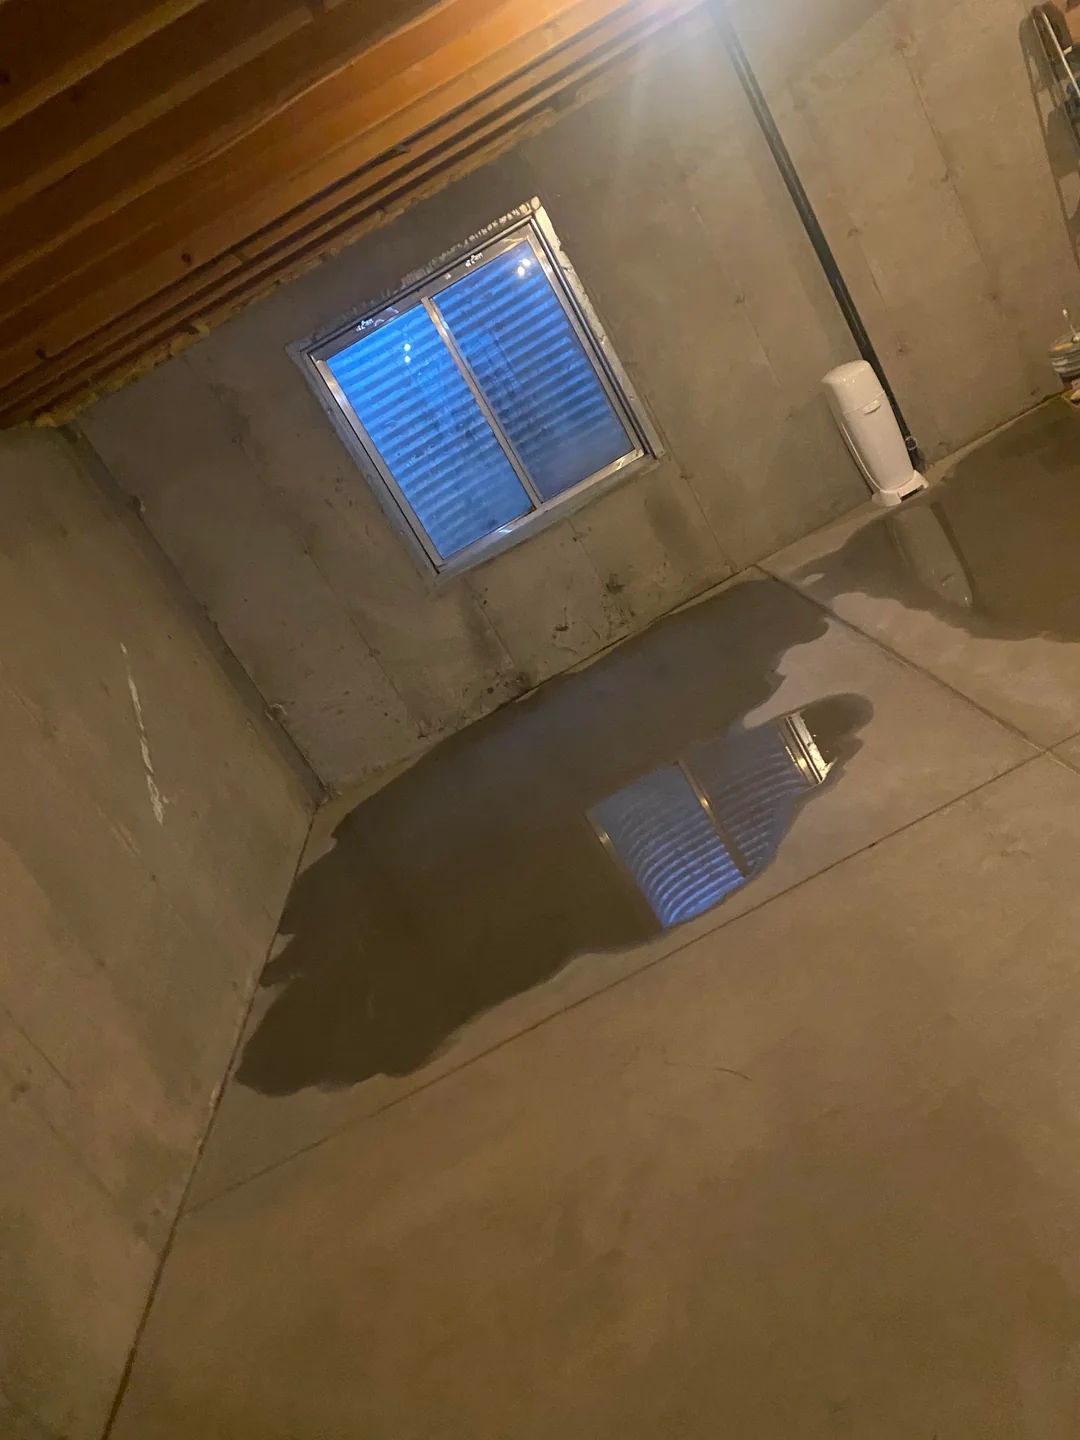
Cover the window wells. Clear drainage stone at the bottom, a clear cover on top. A well full of wet leaves is a bucket held against your basement window all winter.
Maintain the sump pump you already have. Test the float switch, clear the discharge line, and confirm it drains somewhere that will not just flow back toward the house. A pump that has not been checked in years is the most common thing we find dead the week it was actually needed.
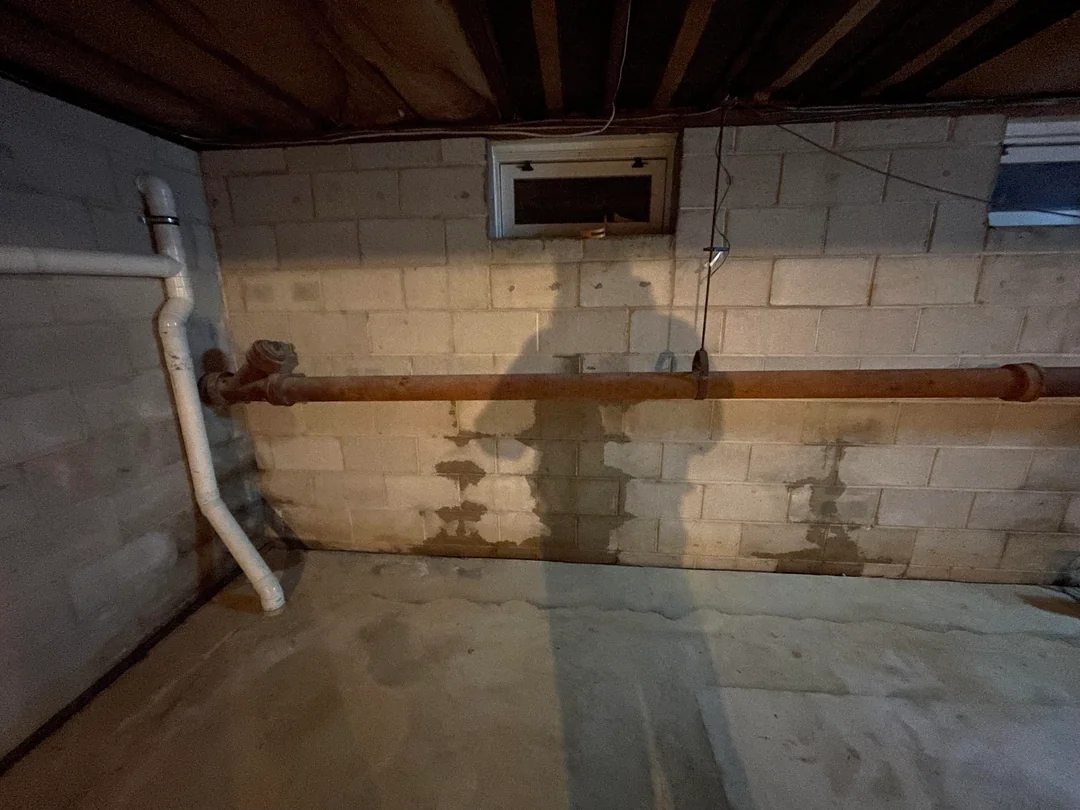
Run a hose test on a suspect crack. A garden hose and forty-five minutes tells you whether water is entering at that exact spot or arriving from somewhere else, which is useful information to bring to an inspection even if you do not act on it yourself.
What a DIY kit does not actually fix
Hardware-store crack sealant. Hydraulic cement or a tube of masonry caulk sits on the surface of a crack. It looks fixed for a season, then water finds the edge of the patch and comes in around it instead of through it. Full-depth injection fills the crack through the entire thickness of the wall, which is not something a caulk gun can do regardless of how carefully it is applied.
A perimeter drain system installed without the right slope. Interior drain tile only works if it falls continuously toward the sump, and getting that slope right along an entire basement perimeter, on top of tying it into a properly sized sump pump and discharge line, is where most DIY interior systems actually fail. Water finds the low spot in a system that does not drain correctly, the same way it finds the low spot in your foundation.
Anything involving excavation. Digging to a footing, applying a membrane, and getting a new footing drain to tie in correctly is not a weekend project, and a partial dig that gets backfilled before the membrane cures causes more problems than it solves.
Why the surface fixes fail the same way every time
Water under pressure finds the weakest remaining point, not the point you happened to treat. A sealant that covers the visible crack but does not reach the exterior face leaves a void inside the wall. That void fills with water and stays full, because Portland soil does not drain between storms from October to May. Eventually that water reaches the steel reinforcement inside the wall (opens in a new tab) , which turns a sealing problem into a structural one.
When DIY makes the real problem more expensive
The costliest version of this is not doing nothing. It is spending money on a fix that looks complete, waiting a season or two on the false confidence it bought, and having the water do more damage to framing, insulation and stored belongings in the meantime. If you are not sure yet which category your basement falls into, the nine signs it shows first and how to tell a crack from a pressure problem are both worth fifteen minutes before you buy anything at all.
The reasonable version of doing it yourself
Do the grading, the downspouts, the window wells and the sump maintenance above. Run the hose test. Then bring what you found to a free inspection instead of a sealant aisle, so the actual entry point gets treated with the method that matches it rather than whichever product happened to be in stock.