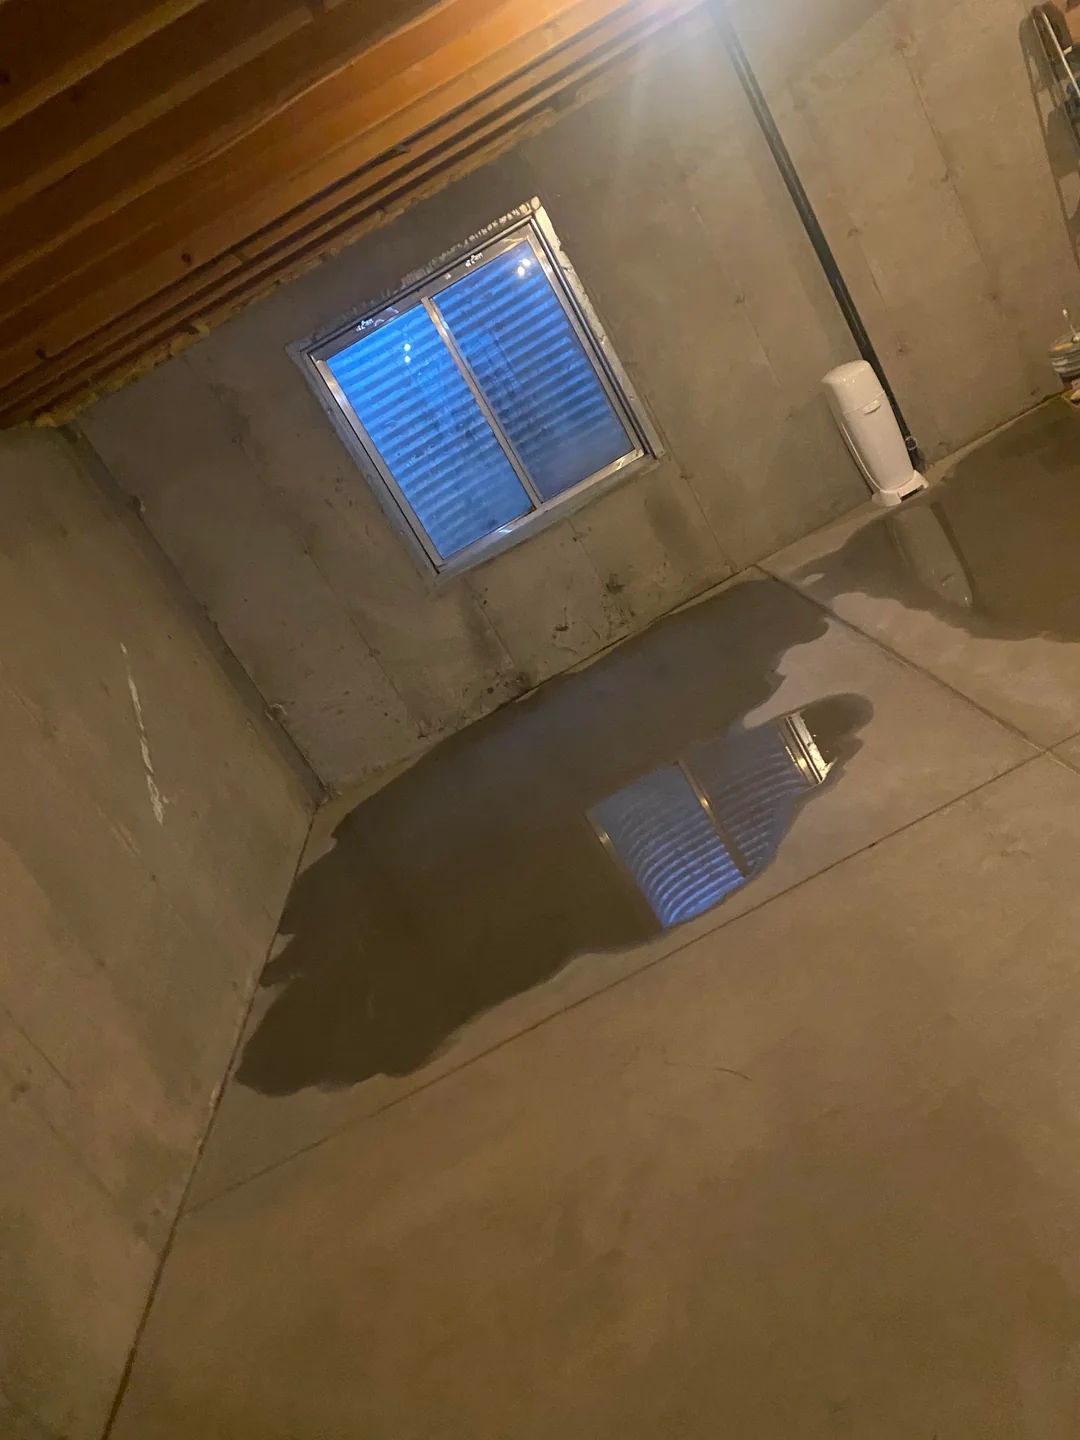
Exterior basement waterproofing has five steps, in a fixed order, and skipping or shortening any one of them is where most exterior jobs actually fail. Here is what each step involves, since “we dig it up and seal it” leaves out the parts that decide whether the work lasts.
Step 1: Excavate to the footing
The soil against the affected wall gets dug out down to the bottom of the footing, not just down to the frost line or however deep the last landscaping went. Anything less leaves the lowest, highest-pressure part of the wall untreated, which defeats the point of digging at all. On a typical Portland foundation this means five to eight feet, depending on the house.
Step 2: Clean and repair the wall
Old parging, loose mortar and any failed coating come off the exposed concrete or block. Cracks get sealed the same way a standalone crack does , through the full thickness of the wall, before anything goes over the top of them. A membrane applied over a wall that is still actively leaking never actually bonds.
Step 3: Apply the waterproof membrane
A rubberized asphalt membrane, not damp proofing (opens in a new tab) tar that only slows moisture, goes on the clean, dry wall, then dimple board over that. The dimple board does two jobs: it protects the membrane from the backfill going back in, and it gives water a clear path down to the new footing drain instead of pressing straight against the wall. The Irvington project shows this exact assembly on a real 1925 foundation.
Step 4: Install a new footing drain
A perforated pipe goes in at the base of the footing, wrapped in filter fabric and bedded in washed drain rock, forming a footing drain (opens in a new tab) that ties into the storm system or a sump. This is the part that actually carries water away instead of just keeping it off the wall, and it is also the part a shortcut version skips most often, since it is invisible once the trench closes.
Step 5: Backfill and restore
The trench gets backfilled in washed drain rock, not the same clay that came out of the ground, since clay packed back against the wall holds water the same way it did before. Landscaping, walkways or a driveway above the trench get restored last, once the drain and membrane are confirmed in place.
How long it actually takes
Three to six days for a single wall run, longer if a driveway or patio needs to be broken out and repoured rather than just re-graded. Excavation and backfill account for most of that time, not the membrane itself, which goes on in an afternoon once the wall is exposed and dry.
When the wall needs more than a membrane
If the wall is also bowing or showing lateral movement, sealing it and backfilling is not the whole fix. Foundation wall stabilization has to happen first, while the wall is already exposed, since re-excavating a finished waterproofing job to add anchors later costs more than doing both at once.
Is this the right method for your house
Exterior work earns its cost when the yard is already open, the wall needs structural attention, or the failure point sits above the cove joint rather than at it. The full interior vs. exterior comparison covers when interior drainage does the same job without the dig, and the cost and disruption breakdown puts real numbers against both.
The free inspection tells you which one your foundation actually needs, based on where the water enters rather than which method happens to be easier to sell.